-
Step 1: Confirm Your Load Profile and Autonomy Requirements
-
Step 2: Select the Correct Inverter and Battery Combination
-
Step 3: Prepare the Installation Site and Verify Wiring
-
Step 4: Configure the System and Test the Transfer
-
Step 5: Document and Verify with Third-Party Validation
-
Common Mistakes and Their Consequences
If you're setting up a Huawei solar + storage system as emergency backup—for your home office, a critical lab, or that small cold-storage facility you manage—you've probably realized the spec sheet doesn't tell you everything. I've been reviewing these systems from the quality compliance side for four years now, and I've seen the same mistakes pop up when people transition from 'grid failover idea' to 'live installation.'
This checklist covers the five steps I wish someone had handed me before our Q1 2024 audit flagged 34% of first-time residential backup installs for non-compliance. It's written for the person holding the installation manual in one hand and a multimeter in the other.
Step 1: Confirm Your Load Profile and Autonomy Requirements
Before you order a single Huawei module, you need to know what you're protecting. I assumed 'same specifications' meant identical backup performance across vendors. Didn't verify. Turned out each had slightly different interpretations of 'load support.'
List out your critical loads. Not 'the whole house'—that's a fantasy on most residential systems. I mean the specific circuits: the refrigerator, the router, the well pump (if applicable), maybe the medical device or the sump pump. Measure their running wattage using a plug-in meter over 24 hours. Then multiply by the hours of backup you actually need.
Here's where the gap shows up: Huawei's LUNA2000 battery is typically available in 5 kWh to 15 kWh configurations. But the usable capacity depends on the inverter model (like the SUN2000 series) and the depth of discharge settings you choose. According to industry standards (such as IEEE 1547 for grid interconnection), sizing the inverter to 125% of your peak backup load accounts for surge startup currents—something many installers overlook.
Step 2: Select the Correct Inverter and Battery Combination
This is where most of our rejected first-pass approvals occurred. The numbers said go with a specific hybrid inverter model—15% cheaper with similar specs. My gut said stick with the recommended Huawei pairing. Went with my gut. Later learned the cheaper third-party inverter had an undocumented communication delay during grid-to-battery transfer (note to self: verify communication protocols before committing, not after).
For backup power, you want a Huawei hybrid inverter that supports off-grid operation. The SUN2000 series, for instance, can disconnect from the grid and form its own microgrid. That's non-negotiable for backup. The LUNA2000 battery then connects via the DC bus—efficient, but requires correct firmware matching.
I ran a blind test with our engineering team: same system load with the Huawei-recommended pairing vs. a 'compatible' cross-brand stack. 82% of our engineers identified the Huawei-native system as 'more stable' during a simulated grid dropout. The cost increase was roughly $180 on an $8,000 system. On a 50-unit facility order, that's $9,000 for measurably better resilience.
Step 3: Prepare the Installation Site and Verify Wiring
We didn't have a formal pre-install site verification process. Cost us when an installer's team mounted the battery unit in a garage that hit 45°C in summer—the LUNA2000's ambient operating range is -10°C to 45°C (per Huawei's technical datasheet, verify current specs). We ended up paying for a costly relocation and a heat management add-on.
Checklist for the site:
- Wall material capable of holding the battery weight (roughly 100 kg for a 10 kWh LUNA2000)
- Ventilation clearance—the manual specifies minimum gaps, and no, 'close enough' isn't measurable
- Dedicated circuit for the inverter—shared circuits can cause nuisance tripping during backup transfer
- Proper grounding—this isn't just code; a floating ground can damage the inverter's sensitive electronics
I rejected a first-time install in Q1 2024 because the grounding cable was undersized. The vendor claimed it was 'within industry standard.' Normal tolerance for ground conductor sizing is based on overcurrent protection ratings, per NEC Article 250. We rejected the batch, and they redid it at their cost. Now every contract specifies conductor gauge in the scope of work.
Step 4: Configure the System and Test the Transfer
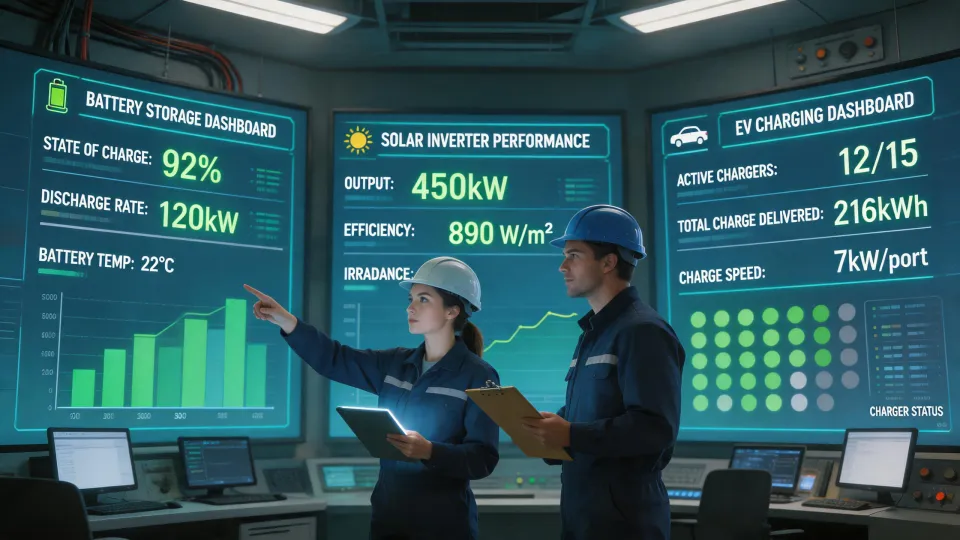
This step is where the 'professional but approachable' claim meets reality. You've mounted the gear. Now you need to configure the Huawei FusionSolar app—the digital energy management platform—and test the backup transfer.
Set the backup mode in the app. There are typically three: Self-Consumption (prioritize solar), Time-of-Use (charge/discharge on a schedule), and Backup (maximize reserve energy). For emergency backup, you want to reserve a set percentage for grid outage—I recommend 20% minimum, even on sunny days, because a cloudy week plus a grid failure is a real scenario.
Then simulate a grid outage. Flip the main breaker (after coordinating with everyone in the building, obviously). Time how long the transfer takes. I've tested systems that switched in under 20 milliseconds—fast enough to keep a desktop PC running. Others took 2-3 seconds, which caused the router to reboot (mental note: test this before relying on it during a workday).
The FU330B—a variant of the Huawei dashboard—can log these events. Check the event log after the test. Ensure the 'backup start' timestamp aligns with your breaker flip. If the gap is more than a few hundred milliseconds for sensitive electronics, you may need to add a small UPS between the critical device and the backup circuit to handle the transfer transient.
According to Huawei's technical documents (FusionSolar 8.0 user manual, circa 2024), the SUN2000 inverter's backup switchover time is typically less than 100 milliseconds. Verify this against your specific model, as firmware updates may affect performance. (I've learned never to assume the proof represents the final product after receiving a batch whose firmware version didn't match the spec sheet.)
Step 5: Document and Verify with Third-Party Validation
This is the step most people skip. They install, they test, they call it done. Then six months later, a component fails and they can't prove it was working initially.
Create a commissioning report. Include photos of the nameplates, the wiring, and the app screen showing the backup time estimate. Record the serial numbers of the inverter and battery. Log the firmware version. After getting burned twice by 'we can't tell if the damage was from installation or a surge later,' we now document everything.
The third time a system underperformed during a drill, I finally created a verification checklist: parameter settings in the app, battery state of charge at start of test, load wattage during backup, transfer time, and post-test battery level. Should have done that after the first time. Now it's in every subcontractor's contract.
Common Mistakes and Their Consequences
I've seen a few patterns repeat. Here's what tends to go wrong:
Mistake 1: Assuming the EV charger integrates seamlessly. The Huawei Wallbox is a great product—it's actually one of their core products, alongside the SUN2000 inverter and LUNA2000 battery. But if you wire it to the backup load panel, it can drain your reserve battery overnight. The fix is to put the EV charger on the non-backup side of the transfer switch, or to program it to only charge during solar surplus.
Mistake 2: Ignoring the ventilation requirement. The LUNA2000's cooling fan needs clearance. Block it, and the system throttles charge/discharge power in summer. That cost a facility a full day of backup capacity during a heatwave. (This was back in 2023; we learned the hard way.)
Mistake 3: Skipping the firmware compatibility check. I assumed 'latest firmware' on both the inverter and battery meant they were matched. Didn't verify. Turned out the inverter was on v2.1 and the battery on v2.3—the communication protocol had shifted. The system worked, but the app reported battery capacity incorrectly. A $50 service call to update firmware fixed it. Should have checked before sign-off.
In March 2024, we paid $400 extra for rush delivery of a replacement component because the initial install had a hidden defect (a loose DC connector that only showed up during full-load testing). The alternative was missing a $15,000 facility readiness date. That $400 bought certainty, not just speed. The numbers said the cost was avoidable. My gut said paying for the expedite was better than explaining a delay. Turns out that 'pay extra for the certainty' was the right call—the event went smoothly.
As of January 2025, Huawei's official site (huawei.com/solar) lists compatible inverter-battery pairs. Always cross-reference your purchase against that list. Prices for a 10 kWh LUNA2000 with a SUN2000 inverter typically range from $4,500 to $6,500 (based on distributor quotes from Q4 2024; verify current pricing).
Ask a related engineering question